COMSTICKC
3D Vintage Red Whitewash Brick Wall Panels Peel and Stick
Couldn't load pickup availability
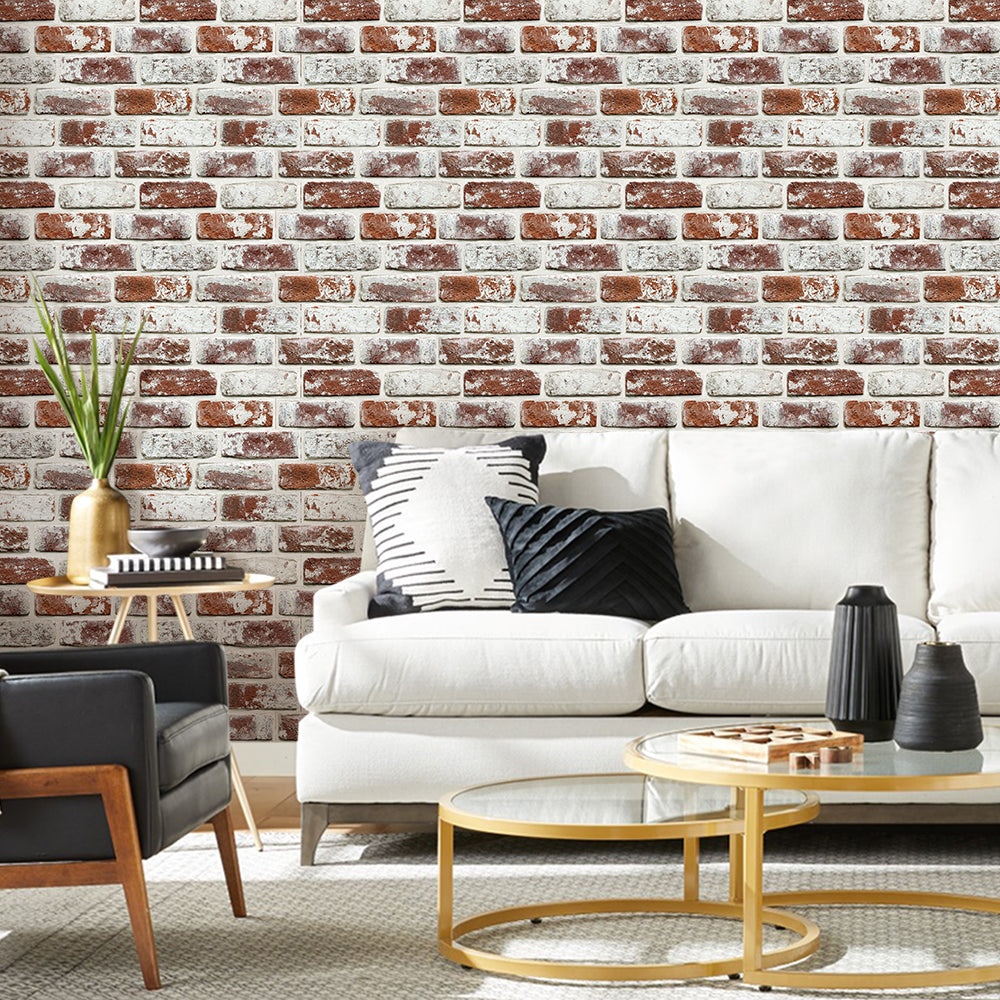
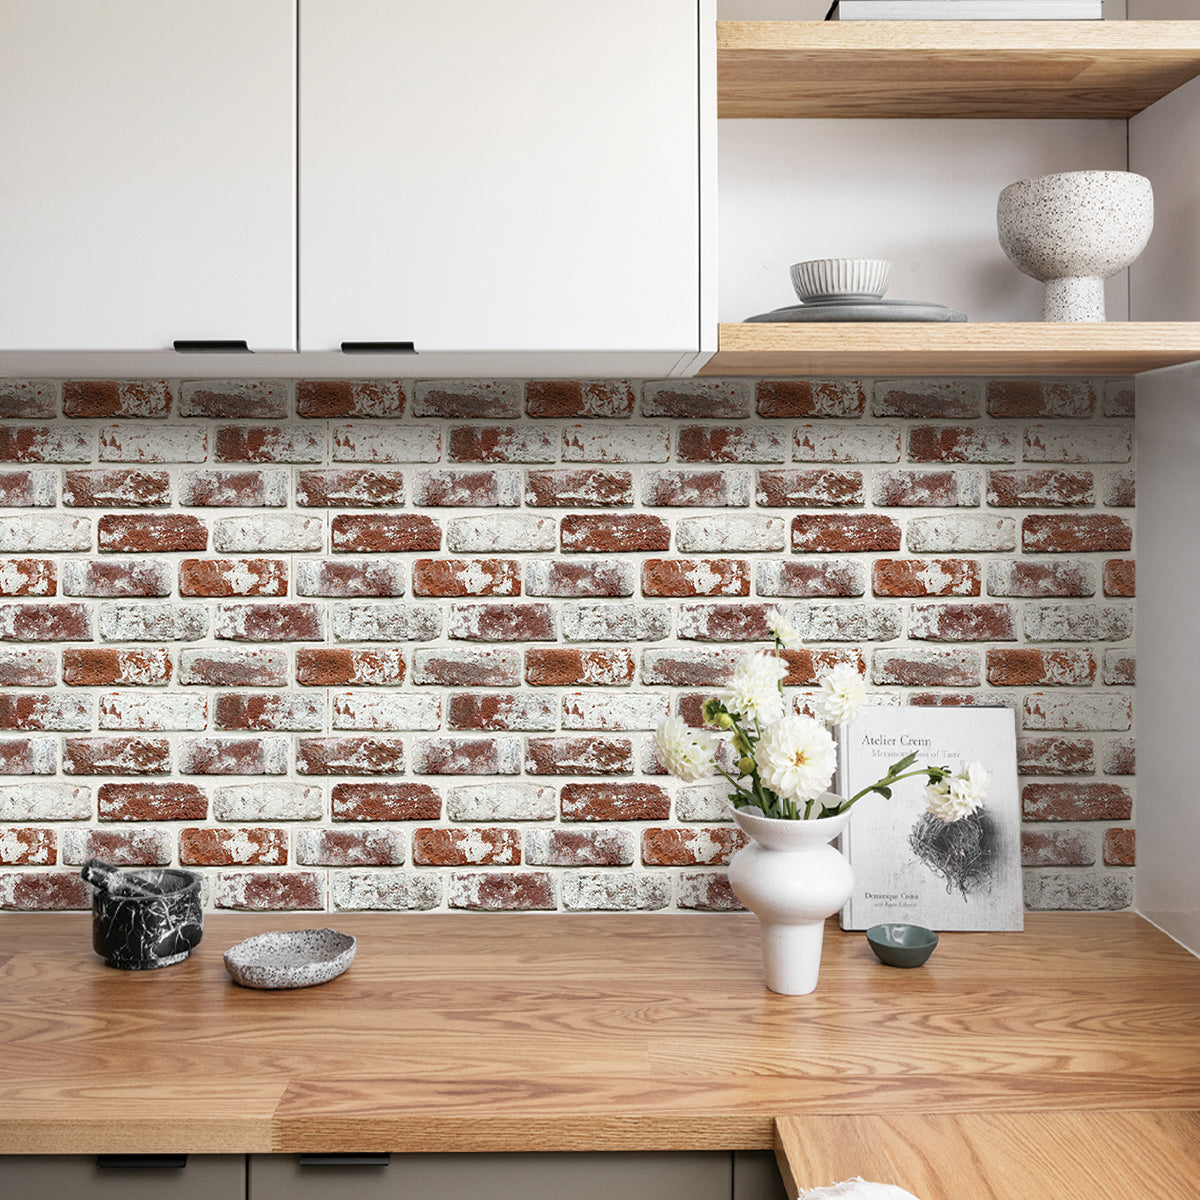
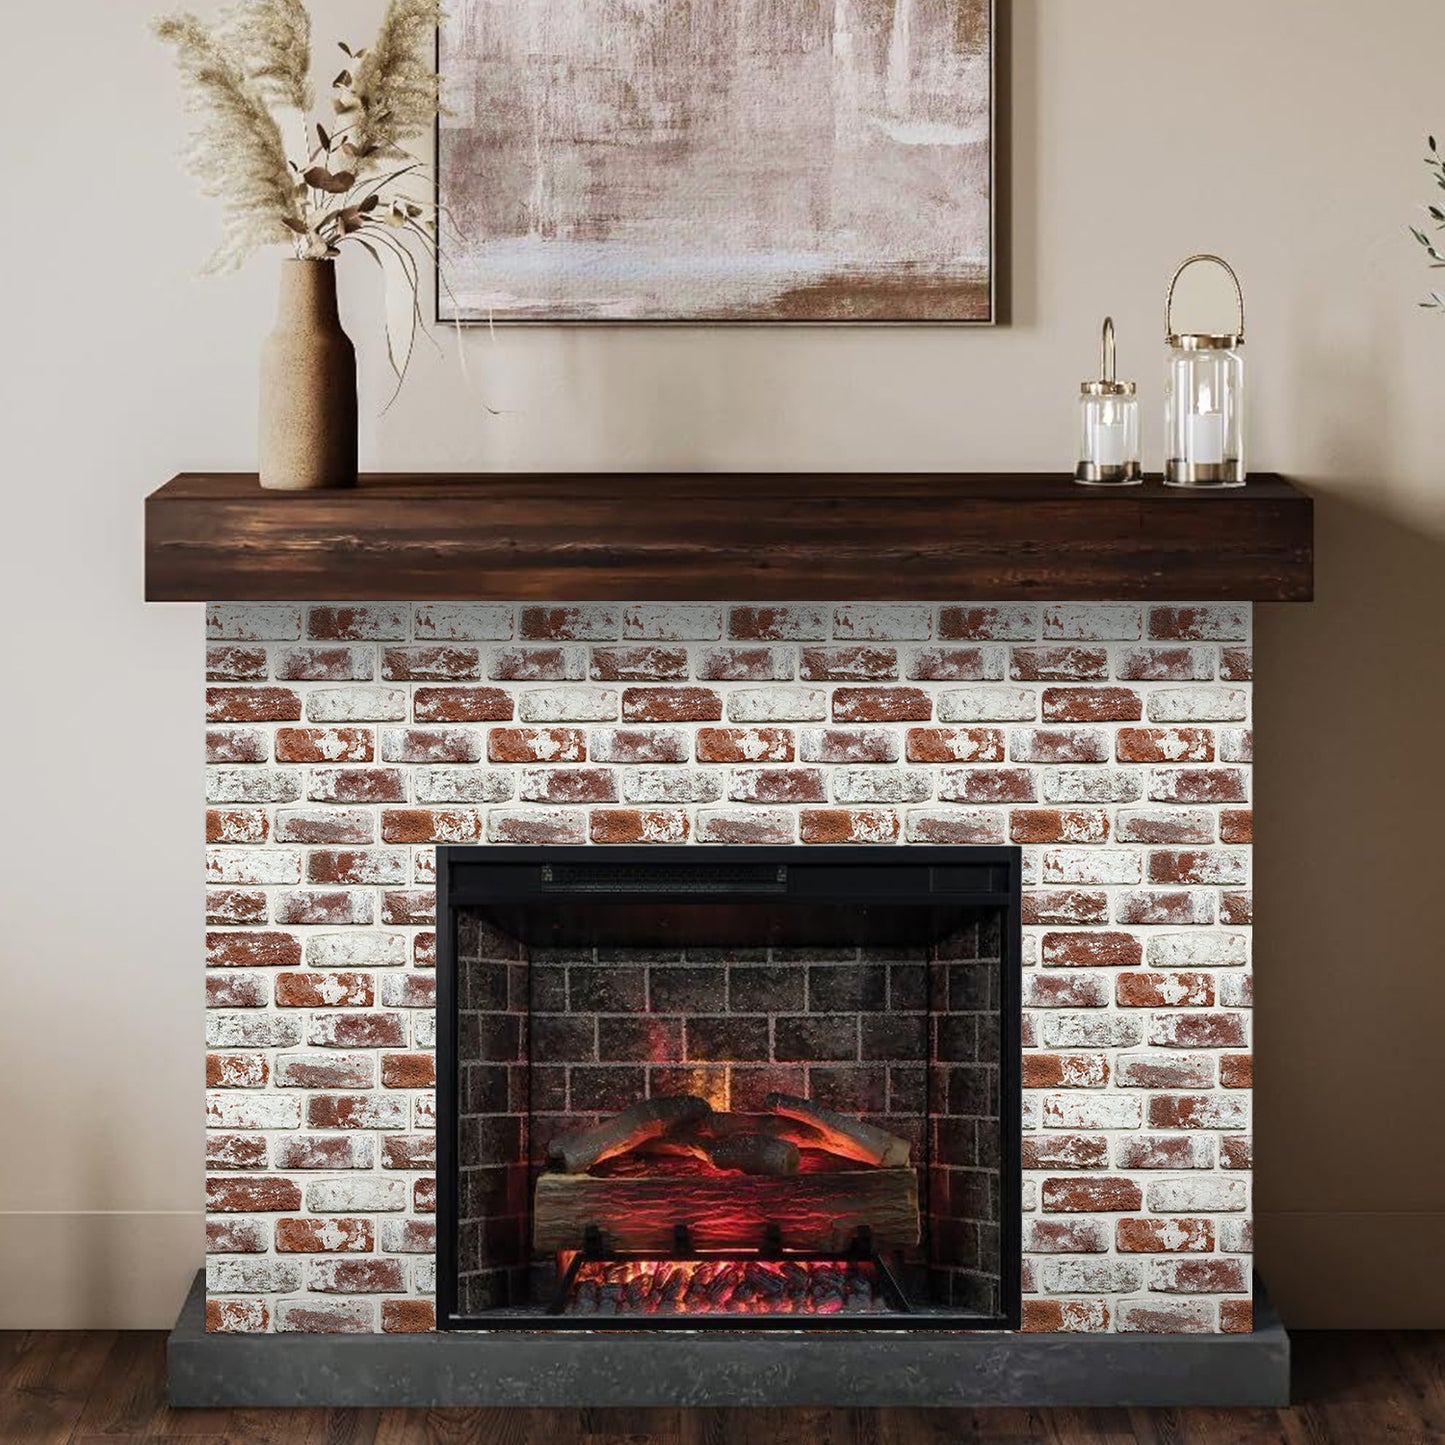
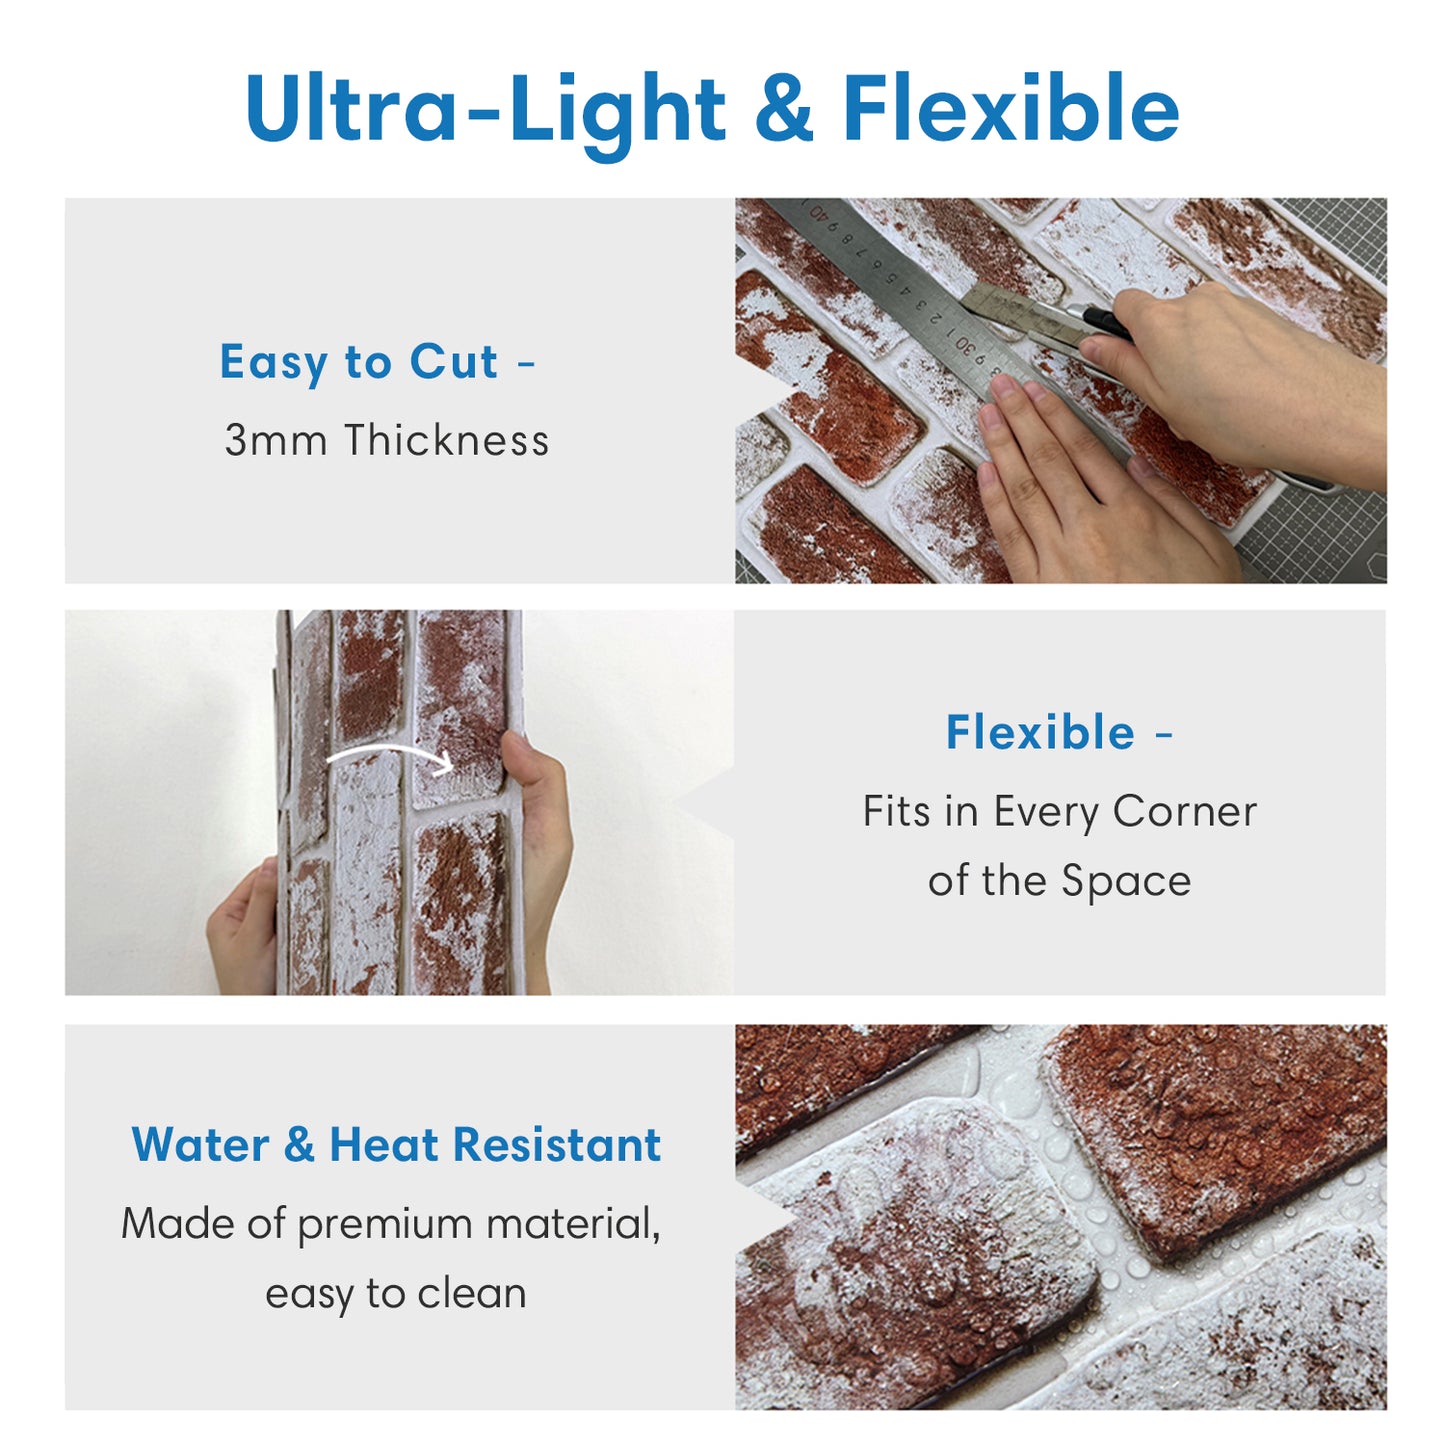
Bring a timeless blend of rustic warmth and vintage charm to your space with Comstickc 3D Vintage Red Whitewash Brick Wall Panels Peel and Stick. Designed with a rich red brick base softened by whitewashed accents, these panels offer the perfect balance of industrial edge and farmhouse elegance — all with effortless peel-and-stick installation.
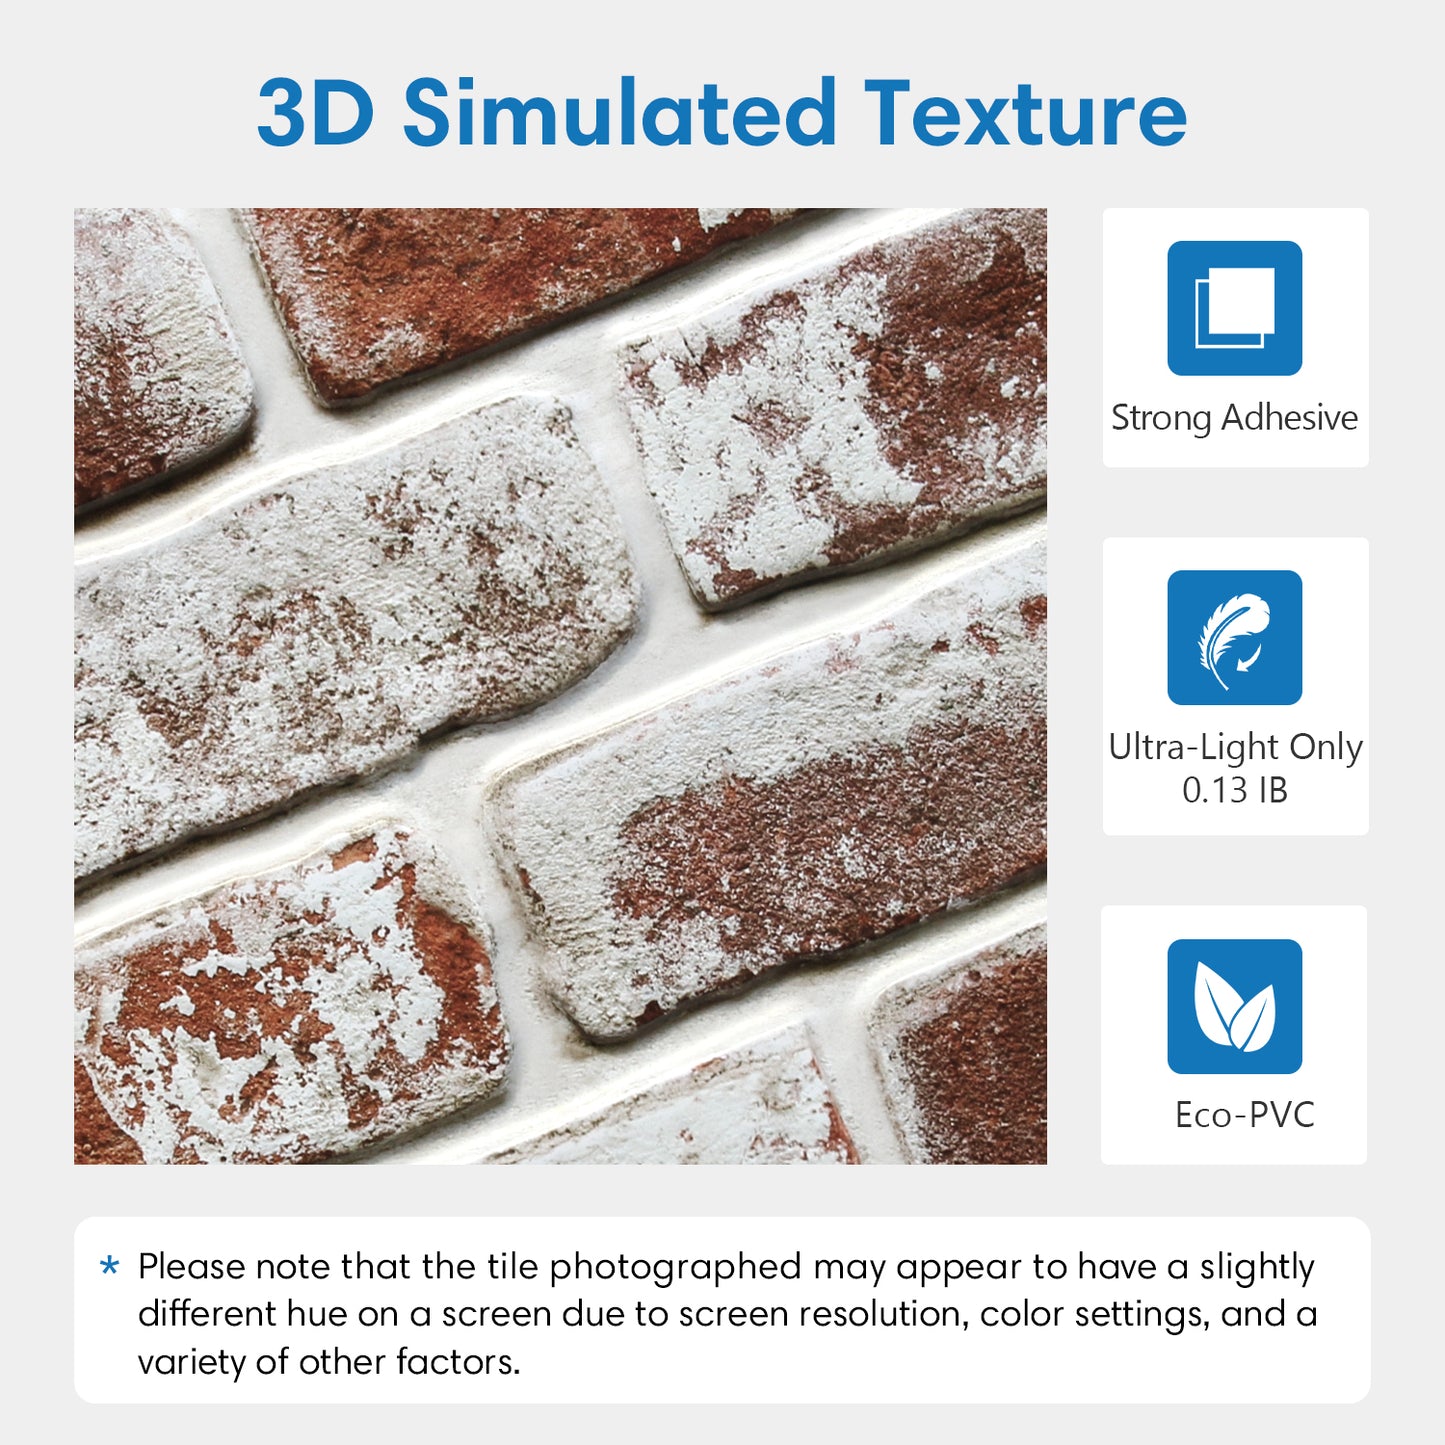
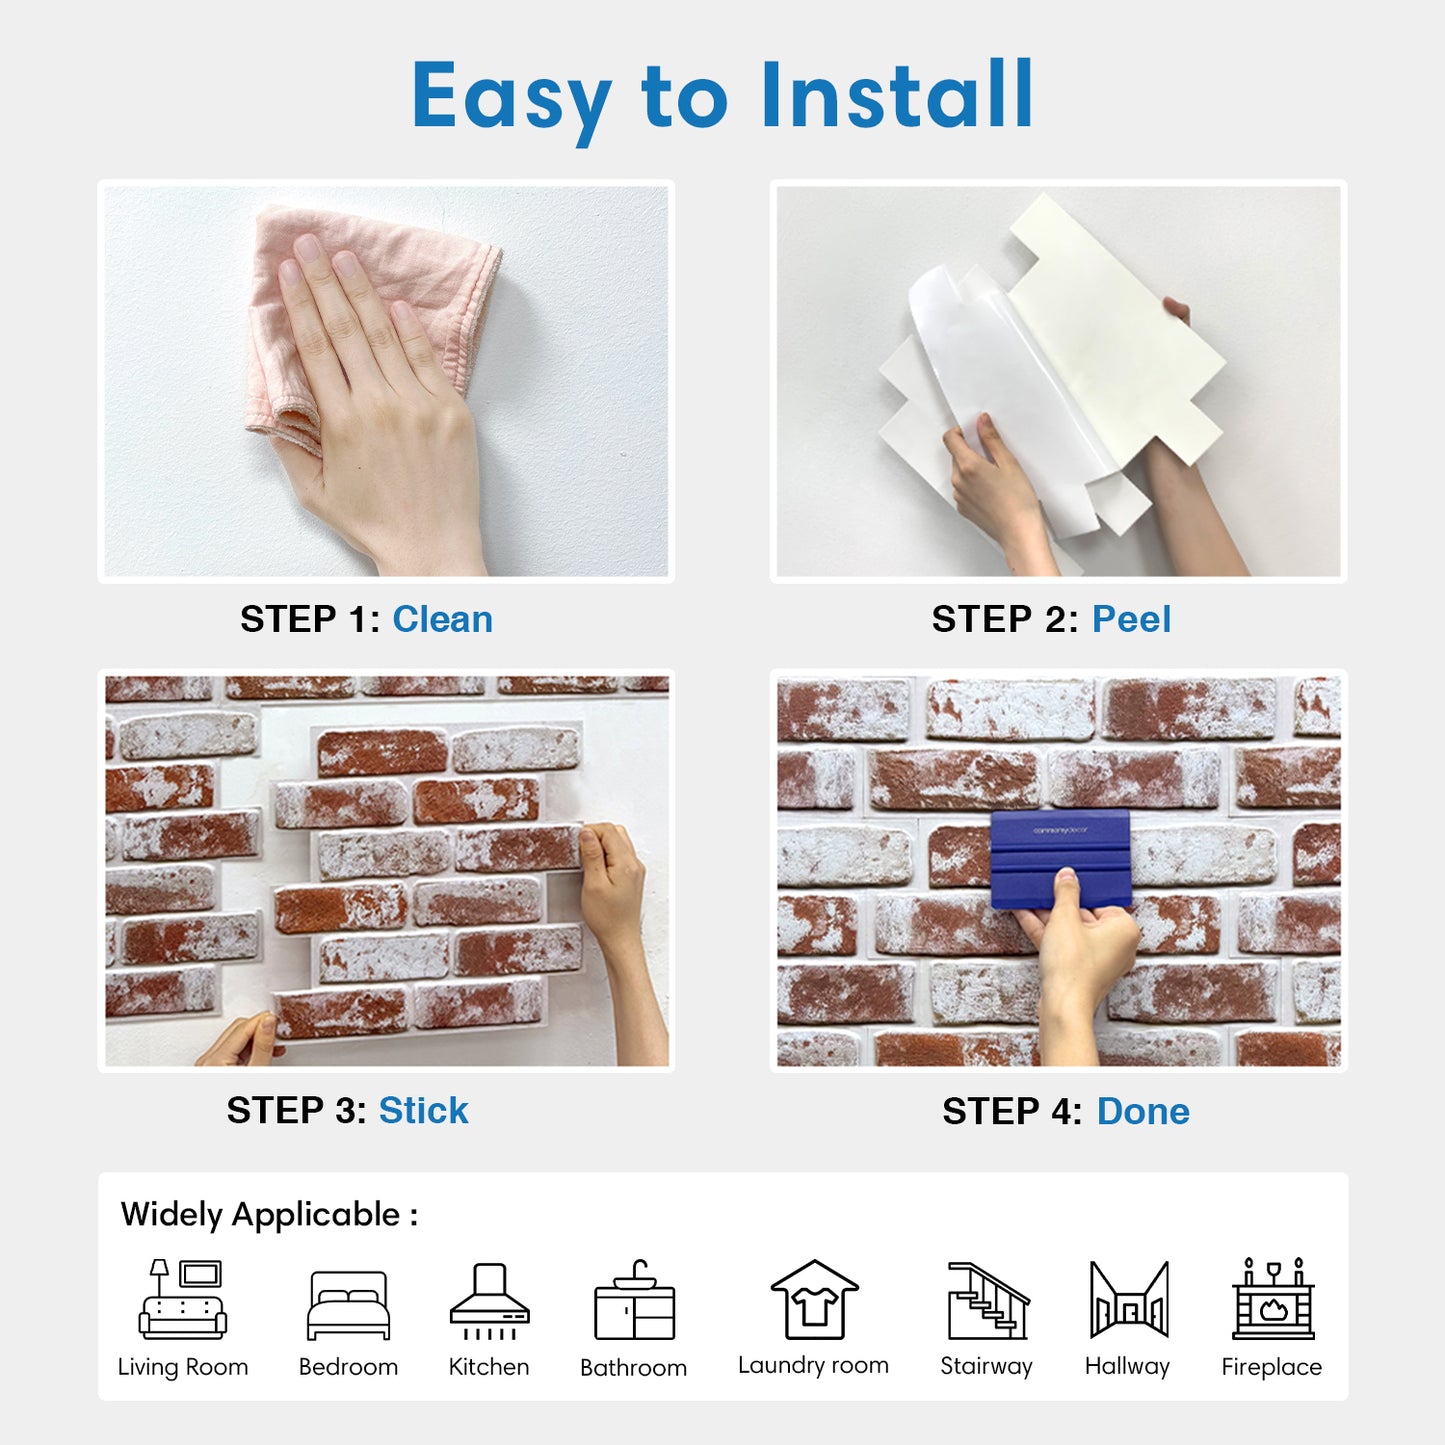
Crafted with ultra-realistic 3D texture, these faux brick wall panels create a striking feature wall or full-room transformation without the need for mortar, grout, or expensive renovations. Whether you’re upgrading your living room, styling a kitchen backsplash, adding warmth to a bedroom, or enhancing a fireplace surround, these panels deliver big visual impact with minimal effort.
Feature
- Stunning 3D Embossed Texture: Realistic 3D surfaces perfectly simulate various real decorative tiles and are lightweight and flexible.
- High Quality and Durable: Made of premium PVC materials, durable, resistant to heat and water, anti-mold, no dioxins, no color fading.
- Stronger Upgraded Adhesive: Stronger backing glue not only sticks firmly to the smooth & clean surface but also available on lightly textured wall.
- Easy and Fast Installation: Just peel and stick! Easy cut with the utility knife or scissors. No more messy, time-consuming and nerve wracking tile installations with grout.
- Easy to Clean and Maintain: Easy to clean the dust and stains with a damp cloth.
Widely Applicable: Living Room, Bedroom,Peel and Stick Brick Backsplash kitchen, Bathroom, Laundry Room, Hallway, Office, RV/Camper, et.
Product Detail
- Product Type: Faux Brick Wall Panels
- Primary Material: PVC
- Finish: Faux Brick
- Surface Type: Matte
- Water Resistant: Yes
- Heat Resistant: Yes
*Our product pictures are actual pictures. Photography on this page is for representation only. Please note that the tile photographed may appear to have a slightly different hue on a screen due to screen resolution, color settings, and a variety of other factors.
*Purchase Enough Tiles at A Time. Please consider a 10% cutting loss and make sure they come from the same batch to avoid slight color differences.
What‘s Include
- 10 Sheets Per Pack
- 9.7 Square Feet / 0.9 ㎡ Per Pack
- 11.8 Inches x 11.8 Inches x 0.1 Inches / 30 cm x 30 cm x 0.3 cm Per Sheet
Easy Installation
Step 1: Clean the surface
Clean the surface with a powerful grease-remover such as TSP (Tri-Sodium Phosphate). It is important to have a smooth surface in order to achieve a perfect grip. Make sure you allow enough time to the surface to dry properly.
*Tips: If your walls are freshly painted, wait up to three weeks before applying tiles.
Step 2: Plan & Cut
Use a pencil and ruler to lightly mark on the wall where each tile will be applied. Use a box cutter and a metal ruler with a cork backing to cut the tiles accurately.
Step 3: Peel & Stick
Fold down protective backing, (avoid touching adhesive - dust, dirt and oils will affect its strength) and press lightly to align first tile to your guide. Remove backing, press firmly once you are certain of placement with a plastic smoother to ensure best possible adhesion, especially the grout lines or the most concave area of the tile surface.
*Tips: Typically the backing adhesive will complete the bond to the wall within 48 hours. After 24 hours of installation, Press the grout lines firmly again with a plastic smoother to ensure more perfect adhesion.
Step 4: Finish & Enjoy
Repeat these steps to continue tiling your wall for a seamless look!
Share


